How To Tie a Windsor Knot
There are numerous knots to choose from when wearing a necktie - four of which most well-dressed gentlemen must task themselves with mastering.
From the most formal and complex to the most casual and uncomplicated, they are: the Windsor knot, the Half-Windsor, the Simple and the Small.
The R. Hanauer team teaches you how to tie a Windsor knot (also known as the Full or Double-Windsor).
The History of the Windsor Knot
While not confirmed, it’s commonly accepted that the Windsor knot was named for King Edward VIII who - after surrendering his title less than a year into his reign - was named the Duke of Windsor in 1936.
He was a handsome trend-setter who was, at one time, the most frequently photographed of all celebrities. It is said he favored broad knots for his neckties, and as the style caught on, the name stuck.

Given its royal origin, it’s no wonder the handsome Windsor knot is typically reserved for the most formal of occasions.
The Elegant Look of a Windsor Knot
The Windsor is a rather intricate knot that yields a broad, symmetrical triangular shape when tied. As such, this knot is best showcased against wide-spread and French collars.
Much of the fabric is contained in the knot, meaning longer neckties and those made with fine fabric - like silk - are ideal when tying a Windsor.

Additionally, the number of loops can make the end result somewhat short, and so this knot is often paired with a waistcoat.
How to Tie A Windsor Knot in 9 Easy Steps
Learning how to tie a Windsor knot takes a bit of guidance, patience and practice. We can provide the former, but the latter is up to you!
If you run into trouble, feel free to contact us - we’re always here to help with your styling needs.
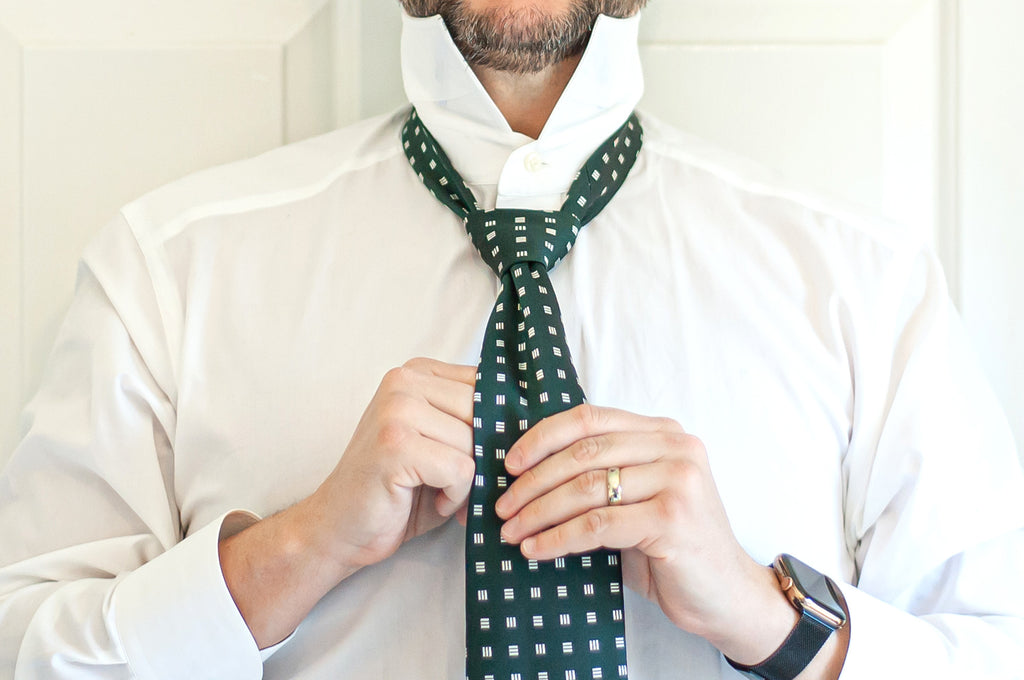
1. Begin with a fully buttoned shirt, with the collar flipped up so you have ample space to work. Drape the tie around your neck, with the narrow end over your right shoulder and the wide end over your left.

2. Cross the wide end over the narrow.

3. With your left hand holding the narrow end straight, use your right hand to pull the wide end up and through the neck loop.

4. Switch hands. Now use your left hand to pull the wide end down under the neck loop and to the left. The back of the wide end of the tie should be facing up.

5. Now pull the wide end up and over the neck loop.

6. Tuck it under the neck loop and pull it back through so that, once again, the back of the wide end of the tie should be facing up.

7. Switching hands again, use your right hand to pull the wide end up and over to the right. This creates the front of the knot.

8. Continuing with your right hand, pull the wide end up and through the neck loop one last time.

9. Finally, tuck the wide end into the knot and pull it through, tightening and adjusting the finished knot as needed.

Congrats! You did it! This may seem like a cumbersome knot at first but, like riding a bike, once you have the hang of it, you’ll be able to do it with confidence and ease.

---
Whether your Windsor knot will take you across the house to a video call or across the world on a holiday card, show us your look on social!
Find us on Instagram, Facebook and YouTube, and don’t forget to tag us with #RHanauer.